

7 Essential Tips for Wall Art Hanging Systems
by Mae Osz on Oct 10, 2025
Wondering how to get your artwork looking exactly right on the wall? The best tips for wall art hanging go far beyond simply hammering in a nail — they cover choosing the right hardware for your wall type, spacing pieces confidently, and keeping everything secure for the long term. Whether you're hanging a single statement print or building a full gallery wall, getting the fundamentals right means your artwork will look intentional, balanced, and exactly where it belongs.
By Mae Osz | Interior Design Consultant & Home Decor Expert with 12+ years of experience.
Ever thought about how Wall art hanging systems can completely change the way you display and protect your favourite pieces?
Choosing the right system often feels like a small afterthought when curating your space, but it makes a much bigger difference than most people realise.
In fact, studies show that properly selected hanging hardware can reduce artwork damage and wall repairs by up to 70 percent. And here’s the surprising part—it’s not always about the fanciest artwork or the most elaborate frames.
The real magic comes from the invisible systems working quietly in the background, keeping your collection safe while making your walls look effortlessly pristine.
List of Contents
- Quick Summary
- Types of Wall Art Hanging Systems Explained
- How to Choose the Right Hanging Method for Your Wall Type
- Understanding Weight Limits and Safe Mounting Hardware
- How to Measure and Plan Your Unique Wall Art Arrangement
- Tools and Techniques for a Professional Installation
- Gallery Walls and Design: Making Your Display Work Visually
- Maintaining and Adjusting Your Artwork Display Over Time
- Elevate Your Wall Display with Effortless Art Hanging Solutions
- Common Wall Art Hanging Mistakes to Avoid
Quick Summary
| Takeaway | Explanation |
|---|---|
| Choose the right hanging system for your wall type | Different wall materials require specific hanging methods to ensure secure and damage-free displays. |
| Consider artwork weight limits for safety | Assess the weight of your pieces accurately to select appropriate mounting hardware and prevent potential accidents. |
| Plan arrangements carefully for visual impact | Precise measurements and thoughtful placement enhance the aesthetic appeal and cohesion of your art display. |
| Regularly maintain your hanging systems | Consistent inspection and maintenance protect your artwork and ensure the durability of your hanging solutions over time. |
| Use appropriate tools and techniques for installation | Employ the right tools for precise installations, ensuring both security and visual excellence in your art display. |
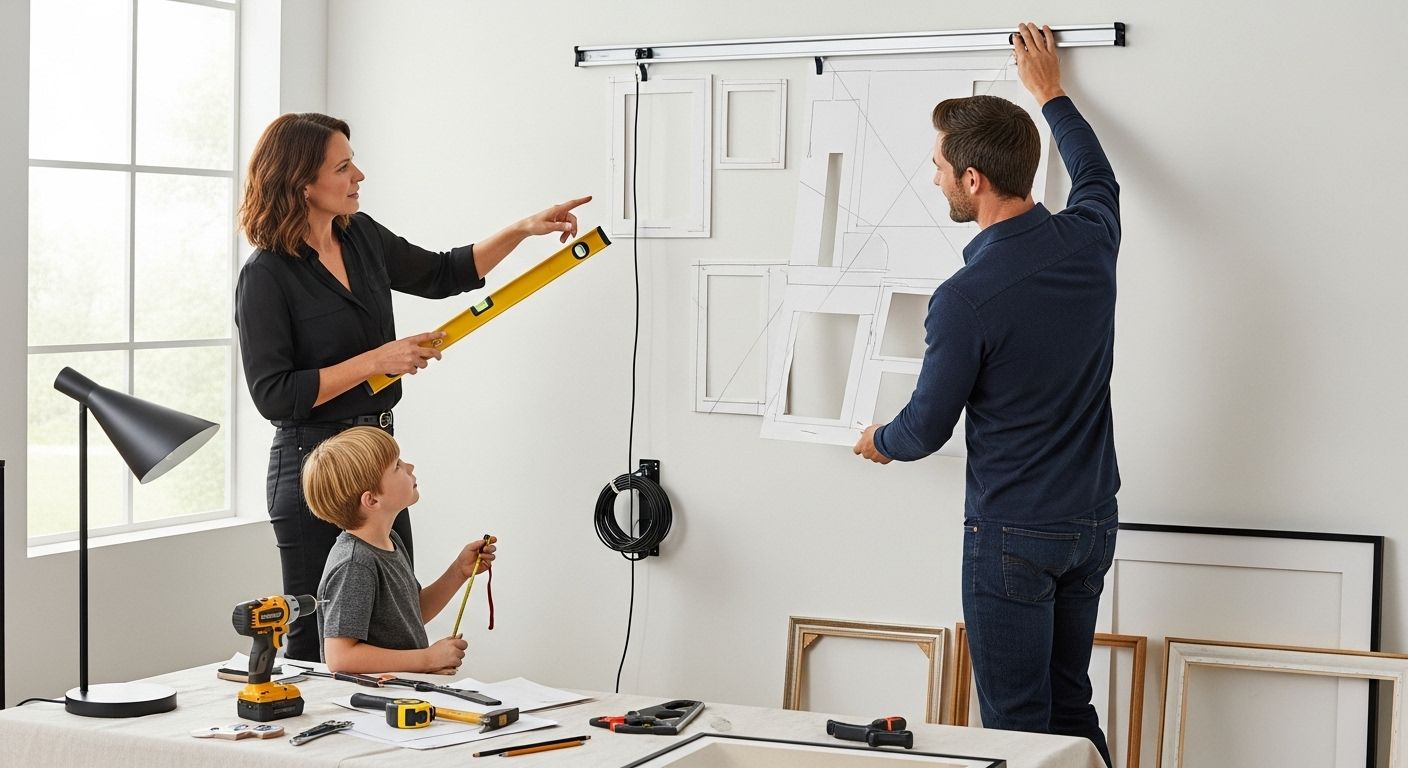
Types of Wall Art Hanging Systems Explained
Selecting the right wall art hanging systems is fundamental to creating a stunning visual display that protects both your artwork and walls. When I work with clients, I always emphasise understanding the nuanced world of hanging solutions before making any installations.
Wall art hanging systems aren’t just about functionality - they’re about creating seamless visual experiences. Different spaces and artworks require specific approaches. The California College of the Arts highlights several critical considerations when selecting hanging hardware.
Key hanging systems include:
- Rail Hanging Systems: Ideal for creating flexible, non-invasive mounting options
- Wire Hanging Systems: Perfect for galleries and homes with frequently changing artwork

- Direct Wall Mounting: Best for permanent, heavy, or large art pieces

- Adhesive Hanging Solutions: Great for lightweight artwork and delicate wall surfaces

- When choosing a hanging system, consider these essential factors:
- Weight of your artwork
- Wall material and condition
- Aesthetic preferences
- Frequency of art rotation
- Potential wall damage
Professional interior designers understand that wall art hanging systems are more than mere hardware - they’re integral design elements that can enhance or detract from your space’s overall aesthetic. Each system offers unique advantages, from minimalist rail systems that create clean lines to traditional wire setups that provide maximum flexibility.
Remember, the right hanging system transforms your wall from a simple background into a curated canvas that reflects your personal style and artistic vision.
How to Choose the Right Hanging Method for Your Wall Type
Navigating wall art hanging systems requires understanding the unique characteristics of different wall materials. Each wall type presents distinct challenges and opportunities for creating beautiful, secure art displays.
According to the Smithsonian Institution, selecting the right hanging method is crucial for preserving both your artwork and wall surfaces.
When assessing wall types, consider these critical factors:
- Drywall: Requires anchors and weight-appropriate hardware
- Plaster: Needs gentle, specialised mounting techniques
- Brick: Demands masonry drill bits and specific wall plugs
- Concrete: Requires heavyweight anchoring systems
Typical wall materials and their recommended hanging approaches include:
- Lightweight artworks on drywall: Use standard picture hooks or adhesive strips
- Medium weight pieces: Install wall anchors or locate wall studs
- Heavy artwork: Secure directly into wall studs with robust mounting hardware
Professional tip: Always test your hanging system’s weight capacity before installation. A secure mounting prevents potential damage to both your precious artwork and your walls.
The weight distribution of your art piece plays a significant role in selecting appropriate hanging hardware. Larger, heavier pieces require more robust mounting solutions compared to smaller, lighter frames.
Remember that environmental factors like humidity, temperature fluctuations, and direct sunlight can impact both your wall’s integrity and your artwork’s preservation. Choose hanging systems that minimise potential stress and damage to your walls and cherished pieces.
If you are planning a gallery wall in your living room, our dedicated guide on arranging framed pictures for a living room gallery wall walks you through sizing, spacing, and layout in full detail.
Understanding Weight Limits and Safe Mounting Hardware
Understanding the weight limitations of your wall art hanging systems is critical to preventing potential damage and ensuring safe, secure artwork display. Precise weight management protects both your cherished pieces and your walls from unnecessary stress.
According to Public Delivery, different artwork weights require specific mounting strategies. Proper weight assessment prevents potential disasters and preserves the integrity of your art collection.
Weight categories for artwork typically include:
- Lightweight Pieces: Under 10 pounds
- Medium Weight: 10-25 pounds
- Heavy Artwork: 25-50 pounds
- Extra Heavy: Over 50 pounds
Key considerations for weight management:
- Always weigh your artwork before selecting a hanging system
- Check the maximum load capacity of your chosen hardware
- Factor in the frame weight alongside the artwork itself
- Use multiple mounting points for heavier pieces
- Consider professional installation for substantial artworks
Professional insight: Distribution of weight matters as much as total weight. A large piece with balanced weight will require different mounting techniques compared to an uneven or asymmetrically weighted artwork.
Most standard picture hooks support artwork between 5-25 pounds. For heavier pieces, wall studs and specialised mounting brackets become essential. Metal wall anchors and rail cable hanging systems can often support up to 300 pounds when installed correctly.
Remember, safety should always be your primary concern. Underestimating weight limits can result in damaged walls, broken artwork, and potential personal injury.
How to Measure and Plan Your Wall Art Arrangement
Creating a stunning wall art display requires precision, thoughtful planning, and a keen eye for visual harmony. Measurement and strategic arrangement transform a simple wall into a captivating narrative of personal style.
According to The Art League, planning your art display is crucial before making any permanent installations.
Key measurement principles include:
- Use a measuring tape for precise distances
- Mark potential hanging points lightly with pencil
- Create paper templates of artwork for visual planning
- Maintain consistent spacing between pieces
- Consider the overall visual balance

Pre-hanging arrangement strategies:
- Lay artwork on the floor to experiment with configurations
- Photograph potential arrangements for digital review
- Use painter’s tape to outline artwork placement
- Step back and assess the overall visual impact
Professional tip: The standard museum hanging height places artwork’s centre at 57-58 inches from the floor, which aligns with average eye level. This creates a visually pleasing and accessible display.
Eye level plays a crucial role in art placement — if you want a detailed breakdown of the best heights and positions for every room in your home, our guide on how to hang art at the perfect height in every room covers exactly that.
Spacing matters significantly. Typically, maintain 2-3 inches between smaller pieces and 4-6 inches between larger artworks. These guidelines create breathing room and prevent your wall from feeling cluttered.

Remember that visual weight differs from physical weight. A smaller, brightly coloured piece might visually balance a larger, more neutral artwork. Trust your instincts, but use measurement as your foundational guide.
Consider the room’s architectural elements - windows, doorways, and furniture - when planning your arrangement. These features can help anchor your art display and create a cohesive visual narrative.
Tools and Techniques for a Professional Installation
Successful art installation requires precision, skill, and the right collection of tools. Professional wall art hanging systems demand more than just enthusiasm - they require a methodical approach and carefully selected equipment.
According to the California College of the Arts, selecting appropriate hanging hardware is crucial for minimising wall damage and ensuring artwork stability.
Essential tools for art installation include:
- Measuring tape for precise positioning
- Level for ensuring straight hanging
- Pencil for light marking
- Electric drill with multiple drill bit sizes
- Stud finder
- Hammer
- Screwdriver set
- Wire cutters

Key hardware considerations:
- Use appropriate anchors based on wall material
- Select picture hooks matching artwork weight
- Choose corrosion-resistant materials
- Ensure hardware matches frame configuration
- Consider wire strength and flexibility
Professional tip: Always test your hanging hardware’s load capacity before installing valuable artwork. A momentary precaution can prevent potential catastrophic damage.
When installing, pay special attention to wire configuration. Properly strung picture wire distributed across two mounting points provides significantly more stability than single-point hanging.
Remember that different artworks require different approaches. A delicate watercolour demands gentler installation techniques compared to a heavy canvas or framed photograph. Matching your tools and techniques to each specific piece ensures both safety and aesthetic excellence.
Gallery Walls and Design: Making Your Display Work Visually
Transforming a wall into a captivating art display requires more than precise measurements - it demands an understanding of visual storytelling and design principles. Your wall becomes a canvas, with each artwork contributing to a larger narrative.
According to the Delaware Art Museum, creating meaningful relationships between artworks is crucial for an engaging display.
Design strategies for compelling art arrangements:
- Create visual connections between pieces
- Balance colour, texture, and scale
- Consider thematic relationships
- Play with asymmetrical and symmetrical layouts
- Experiment with negative space
Key visual considerations:
- Use artworks with complementary colour palettes
- Mix different sizes and orientations
- Consider frame styles and materials
- Integrate artwork with existing room decor
- Allow breathing room between pieces

Professional insight: Think of your wall as a composition. Each artwork is like a musical note - individually beautiful, but truly magical when harmoniously arranged.
The standard museum hanging height places artwork’s centre at 57-58 inches from the floor, which creates a universally pleasing visual experience. However, don’t be afraid to break traditional rules if your space and personal aesthetic demand a more unconventional approach.
Remember that lighting dramatically influences how art is perceived. Consider natural and artificial light sources when planning your display. Soft, indirect lighting can enhance artwork’s depth and texture, transforming a simple wall into a dynamic, living gallery.
Maintaining and Adjusting Your Artwork Display Over Time
Art displays are living compositions that require ongoing care and attention. Just as a garden needs regular tending, your wall art hanging systems demand periodic maintenance to preserve their beauty and functionality.
According to the Smithsonian Institution’s Museum Conservation Institute, regular inspection of mechanical hanging components is crucial for artwork preservation.
Key maintenance considerations:
- Check hardware integrity every 6-12 months
- Inspect wire tension and attachments
- Monitor wall anchor stability
- Look for signs of material fatigue
- Assess potential environmental stress factors
Signs that indicate immediate system adjustment:
- Visible wall anchor loosening
- Frame tilting or uneven positioning
- Rust or corrosion on hanging hardware
- Visible stress marks on walls
- Changes in artwork weight distribution
Professional insight: Environmental factors like humidity, temperature fluctuations, and sunlight exposure can significantly impact your hanging systems. Proactive monitoring prevents potential damage.
Rotating artwork periodically helps prevent uneven fading and redistributes stress on hanging mechanisms. This practice not only preserves your art but also refreshes your living space, allowing different pieces to take centre stage.
Remember that maintenance is an investment in preservation. A few minutes of careful inspection can prevent costly repairs or irreplaceable artwork damage. Treat your wall art hanging systems as precision instruments, deserving of thoughtful, consistent care.
The following table concisely summarises the key tips, considerations, and outcomes discussed throughout the article to help you achieve secure, visually appealing, and well-maintained wall art displays.

| Tip & Topic | Key Considerations | Benefits & Outcomes |
|---|---|---|
| Understand Hanging System Types | Wire, rail, direct mount, adhesive; suitability for artwork and space | Matches system to display need; protects walls and art |
| Match System to Wall Type | Consider material: drywall, plaster, brick, concrete | Ensures secure, damage-free installation |
| Always Consider Artwork Weight Limits | Weigh artwork; check hardware load ratings; professional help for heavy art | Prevents wall/artwork damage, accidents |
| Measure & Plan Arrangement | Precise measurements, consistent spacing, museum height, visual balance | Enhances aesthetic, cohesive displays |
| Use Proper Tools & Techniques | Drill, level, anchors, wire, quality hardware & installation | Secure fittings, minimal wall damage |
| Incorporate Design Principles | Visual connections, colour, frame style, thematic relationships, lighting | Creates harmonious, engaging and personal displays |
| Maintain and Adjust Over Time | Inspect hardware, check for corrosion/weakness every 6-12 months | Prolongs system/artwork life, preserves appearance and safety |
Elevate Your Wall Display with Effortless Art Hanging Solutions
Have you ever felt anxious about damaging your walls or unsure which hanging system can truly showcase your art without risk? Many readers of “7 Essential Tips for Wall Art Hanging Systems” wrestle with selecting the right installation methods, ensuring weight limits are met, and achieving both visual harmony and safety. Choosing the ideal hardware can feel overwhelming, especially with delicate surfaces or treasured artwork at stake.
Let your creative vision shine with the confidence that comes from expert support. Discover thoughtfully curated wall art and expert-approved hanging guidance at About Wall Art. Our platform embraces all the key concepts you’ve learned in the article, transforming design inspiration into practical shopping solutions. Ready to enhance your home or office with curated pieces and the peace of mind that your display will look flawless?
Common Wall Art Hanging Mistakes to Avoid
Even with the best intentions, a few simple errors can undermine an otherwise beautiful display. The most frequent mistake is hanging artwork too high — most people instinctively put pieces at eye level when standing, but the gallery standard of centring art at 57 to 60 inches from the floor creates a far more grounded, comfortable result.
Another common error is ignoring the wall material before choosing your fixings. A plastic anchor designed for plasterboard will not hold in a solid brick wall, and the consequences of getting this wrong can be costly. Always identify your wall type before you buy any hardware.
Finally, skipping the planning stage leads to unnecessary holes and an uneven layout. Lay pieces on the floor first, take photographs, and use painter's tape on the wall to mark positions before committing. This single habit separates confident hangers from frustrated ones.

How High Should You Hang Wall Art?
Height is arguably the single most important variable in any wall art hanging project, yet it is also the most commonly misunderstood. The widely accepted rule among interior designers and galleries is to position the centre of your artwork at approximately 57 to 60 inches (roughly 145 to 152 cm) from the floor — a height that corresponds to the average human eye level.
When hanging art above furniture such as a sofa or console table, aim for the bottom of the frame to sit 6 to 10 inches above the top of the furniture. This keeps the piece visually connected to the furniture rather than floating adrift on the wall.
For staircases, follow the angle of the steps so that the centre of each piece maintains a consistent height as you move up. It sounds complex but a simple chalk line or string guide makes it straightforward. Getting the height right first means everything else — spacing, grouping, hardware — falls naturally into place.
More About
For a great read on how to hang artwork properly—with tips on choosing hardware, fitting walls, and getting the perfect layout—check out The Guardian’s article “’Try them in different places’ – how and where to hang your pictures”. It goes into hanging systems like picture rails and hooks, spacing, and design-friendly tips to avoid damaging walls.
Pro Tips
For more inspiration on displaying art securely and stylishly, explore these guides from the About Wall Art Content Hub:
-
Solving large wall art placement anxiety — where and how to hang — practical advice for placing and hanging large pieces (helps with planning, height, and fixings).
-
How to hang wall art for stairs without a straight wall — step-by-step tips for tricky stairway displays and secure hanging on angled walls.
-
What frame size do I need? — Step-by-Step Guide — guidance on choosing frame sizes, spacing, and ideal hanging heights.
WATCH: Renter-Friendly Hacks: 3 Easy Tips for Hanging Pictures


